

The request often arrives in the same form: “100 pcs outdoor tactile markings”. It turns up in a tender specification, in an e-mail from a town hall, or from a building manager who is redoing the pavement in front of an entrance. That sentence leaves out three things you need to know before ordering: what the tiles are made of, how many are guidance and how many are warning tiles, and where exactly they go. We take them one at a time, with the figures of the tiles we sell and the rules of the Romanian accessibility normative NP 051-2012.
If you first want to know what tactile tiles are and how guidance and warning tiles work together, start with the general guide to tactile paving. Here we go straight to outdoor use and larger orders.
What changes outdoors
In a hall, a tactile tile sits on ceramic flooring, in the warm, and people walk on it in shoes. On a pavement, the same tile gets the summer sun, rain and frost, and prams, bicycles and snow shovels go over it. So for an outdoor marking you ask about four things:
- the material, because it decides how the marking is fixed and on what;
- the service temperature given in the product sheet;
- the non-slip surface, because outdoors the tile is often wet;
- the fixing method: bonded on top of the floor, laid into the paving, or fixed in drilled holes.
Our tiles are made of TPU (thermoplastic polyurethane), 0.8 cm thick, with a non-slip surface, and they are bonded with epoxy adhesive, which is not included. For the 30 x 60 cm format, the manufacturer states that the material withstands natural weather conditions between −20 °C and +60 °C, does not hold dirt and is easy to clean.
Four materials, four ways of fitting
Tactile markings are made from four materials. The big difference between them is not the look but the way they get onto the pavement, and that usually decides the choice.
TPU or polyurethane tiles
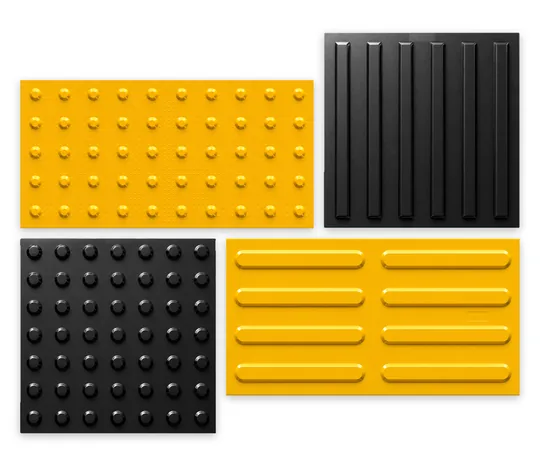
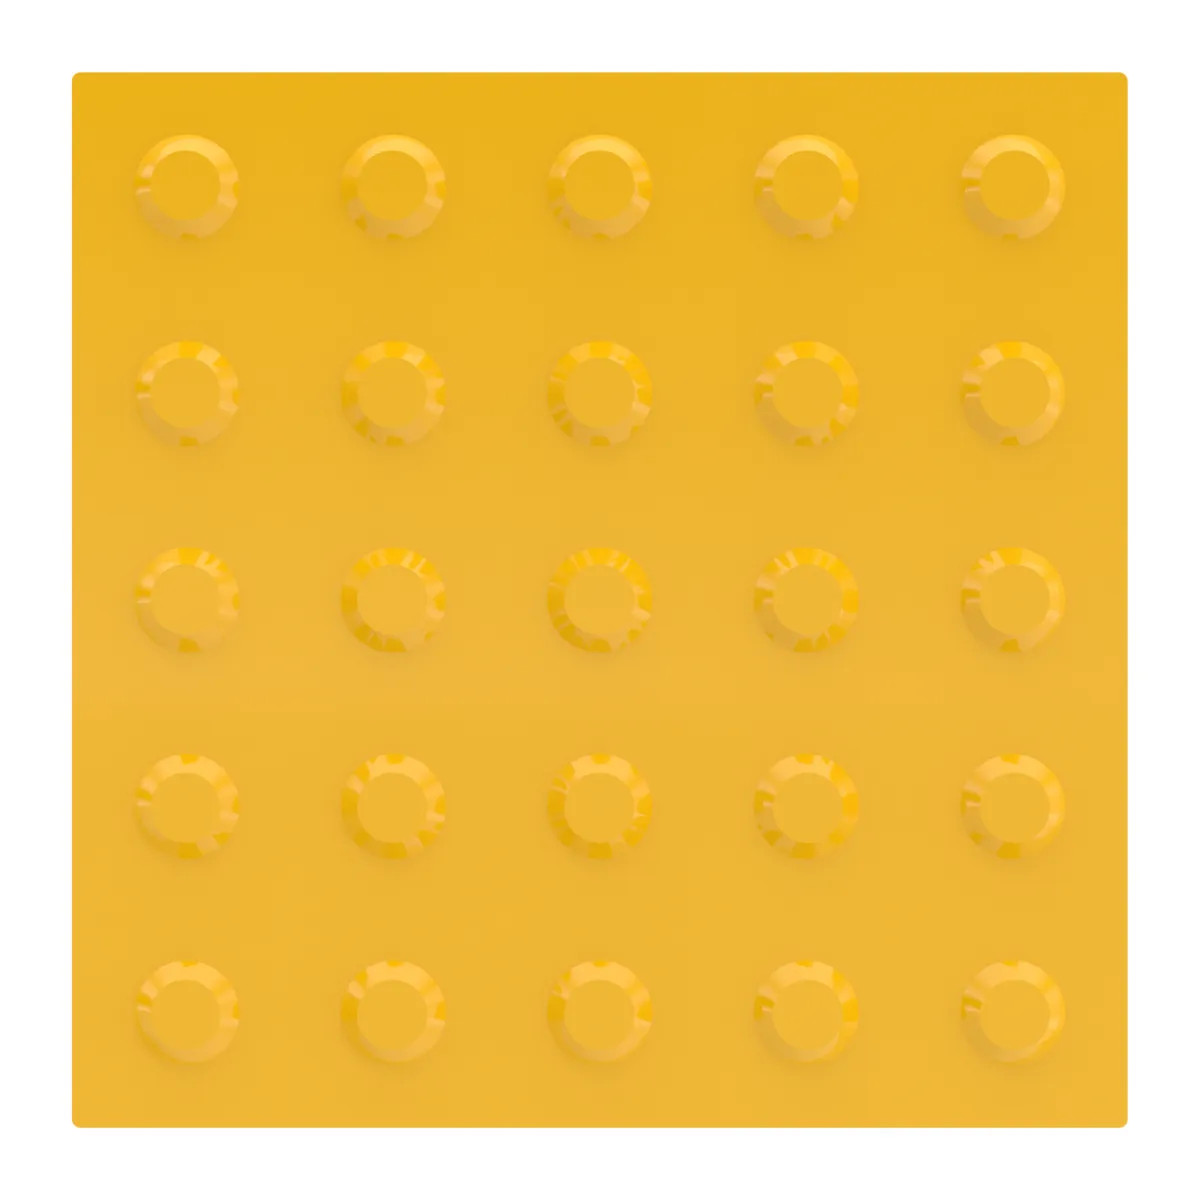
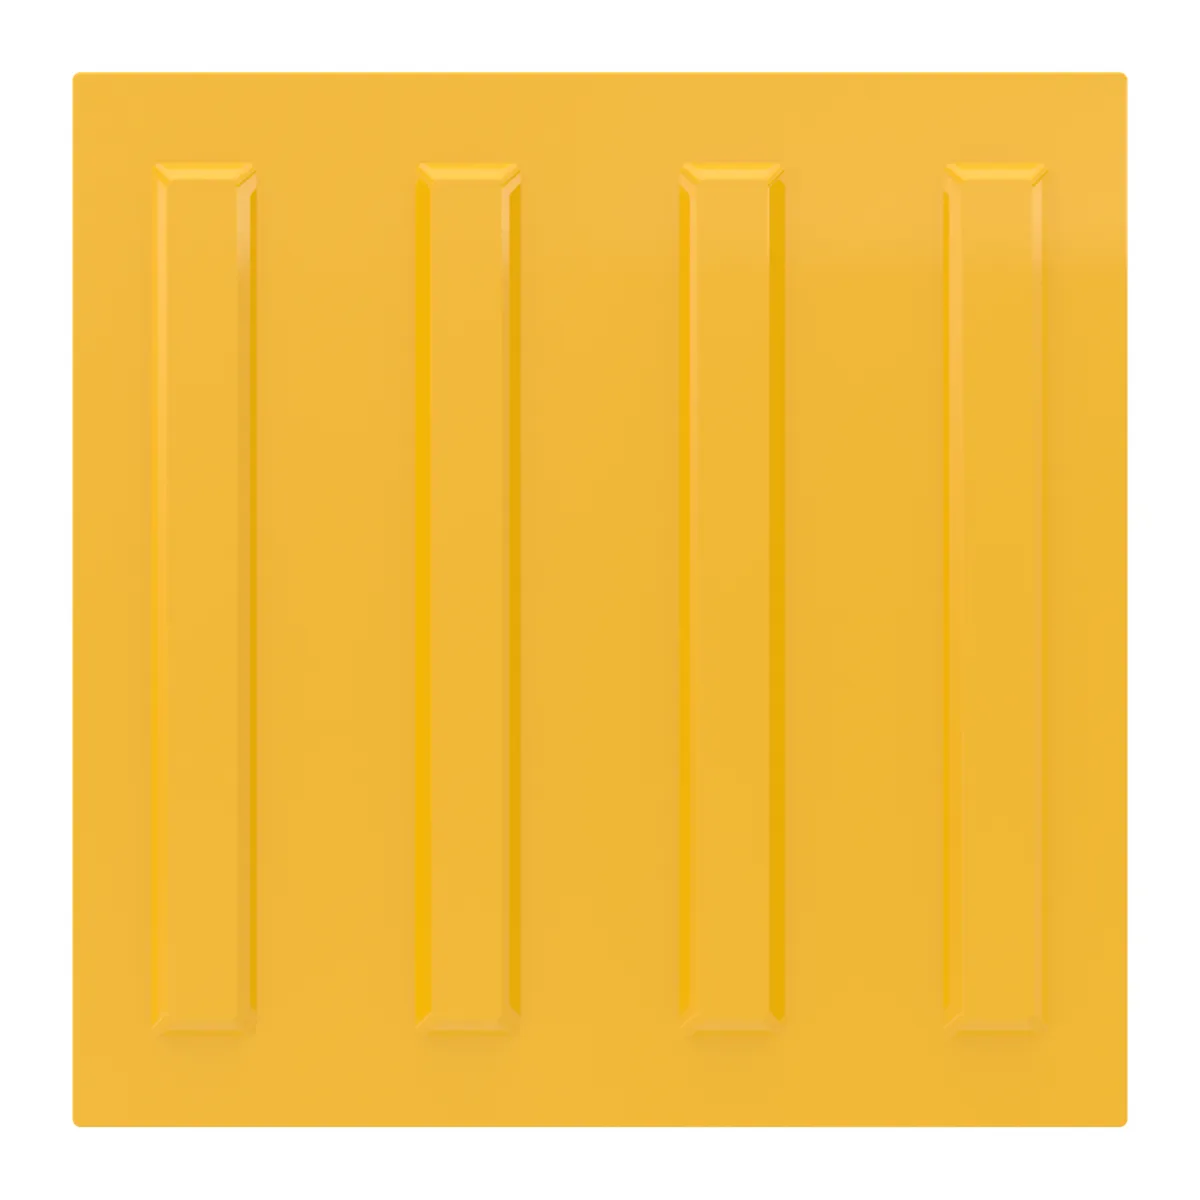
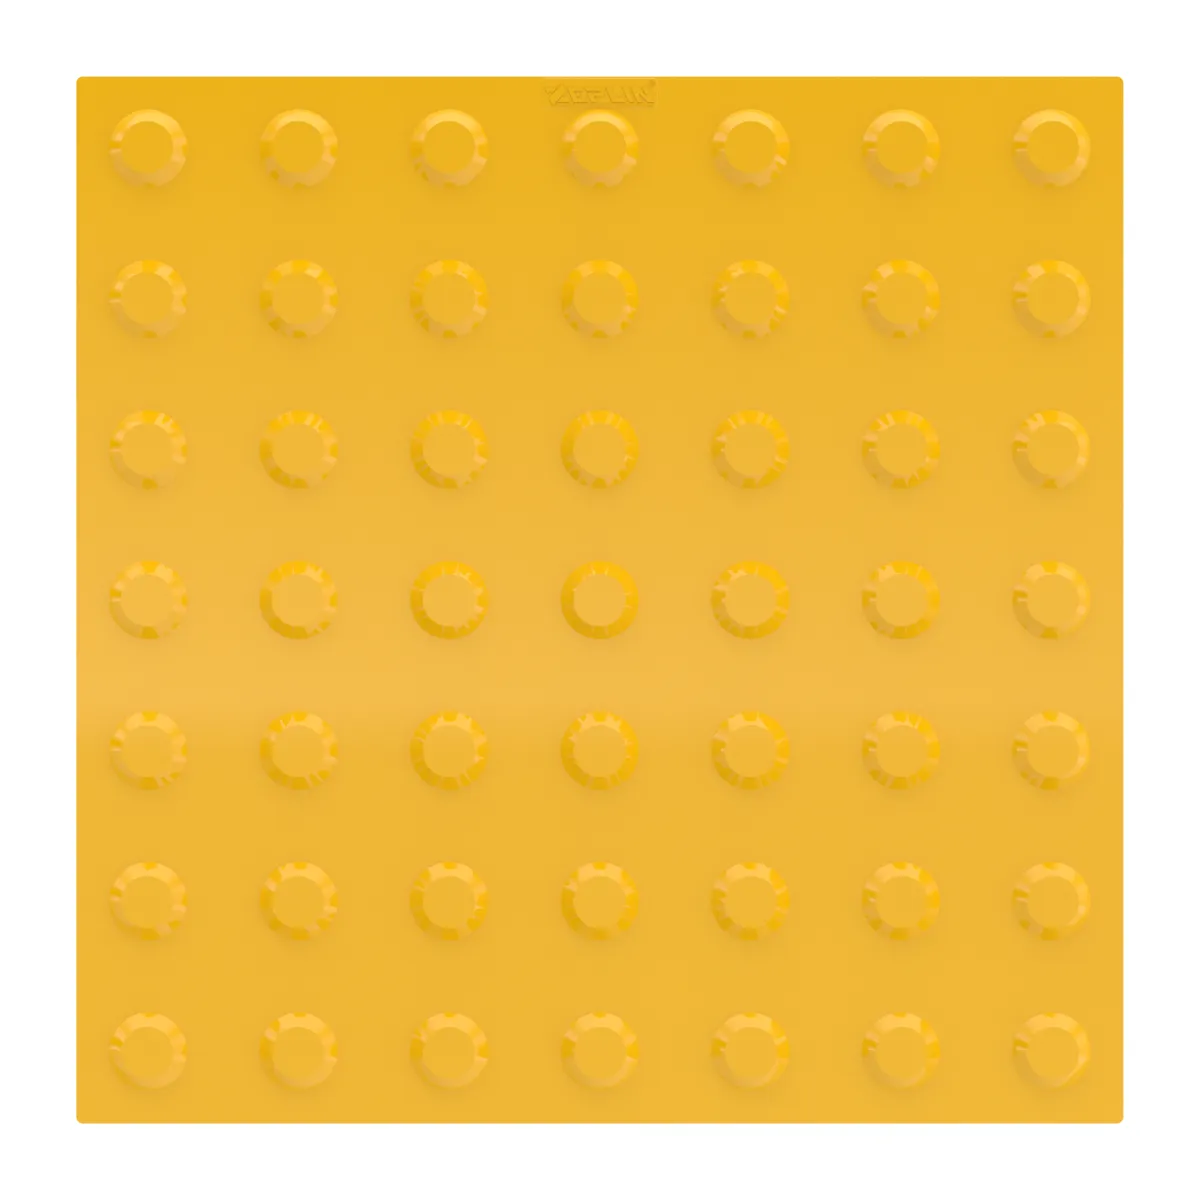
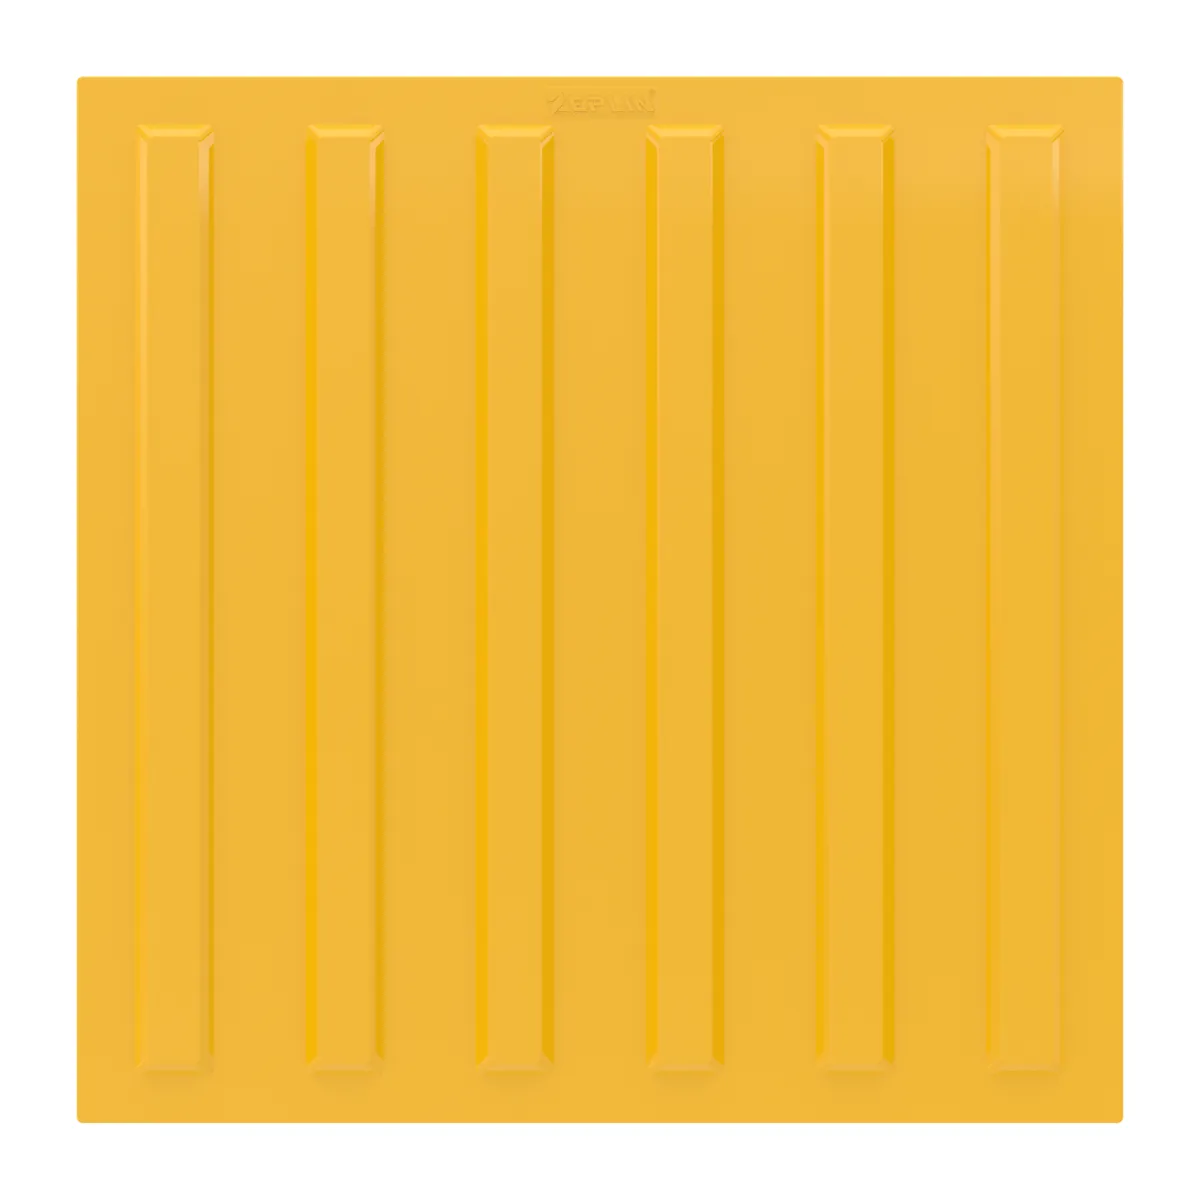
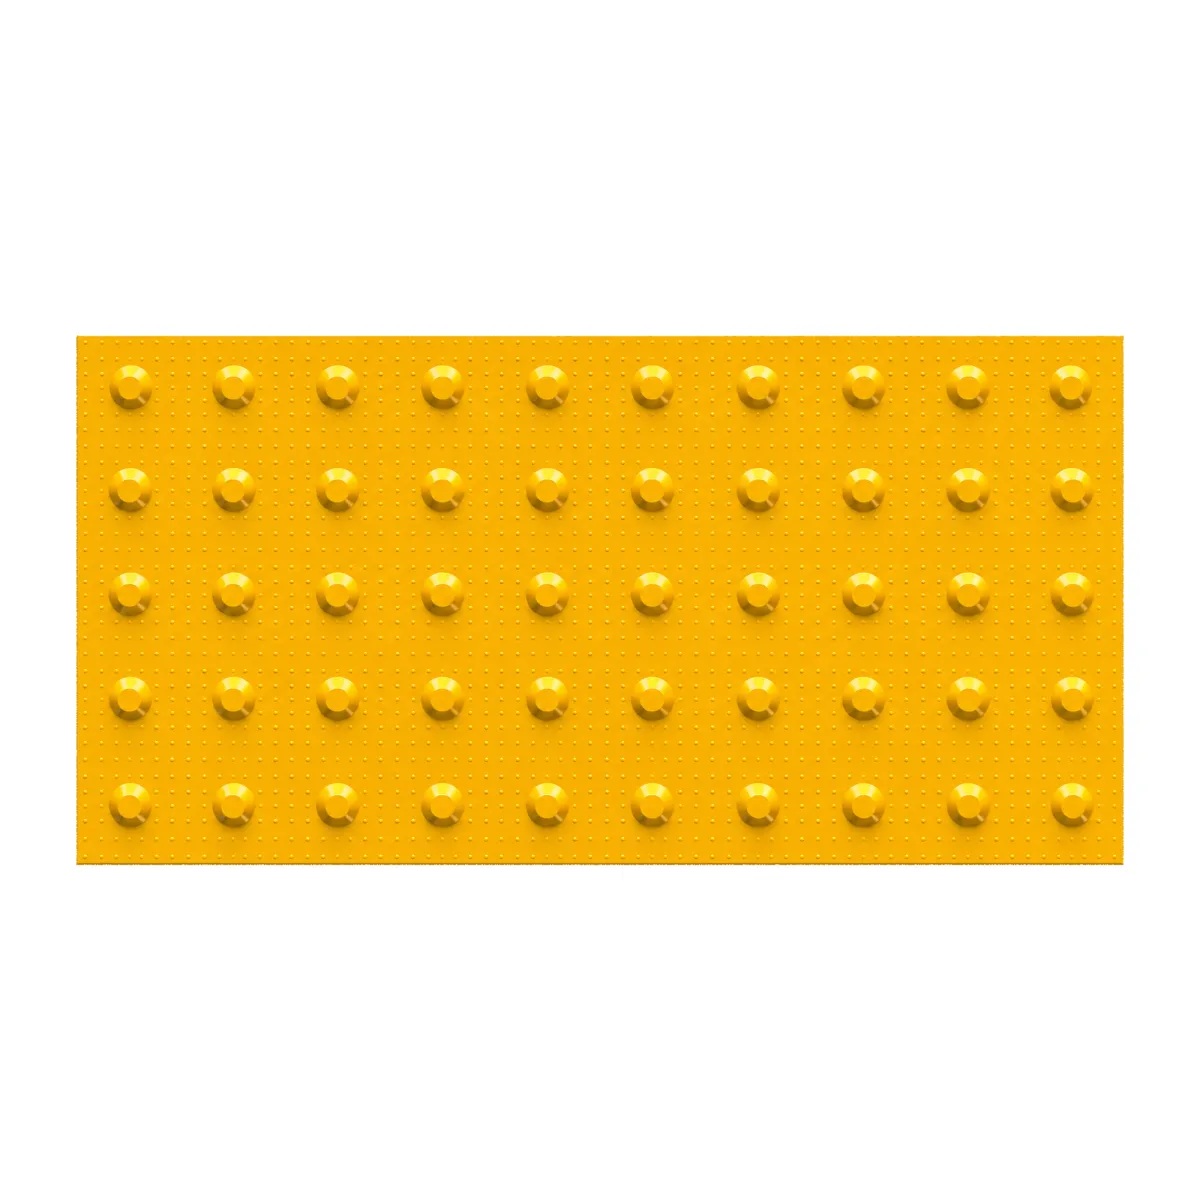
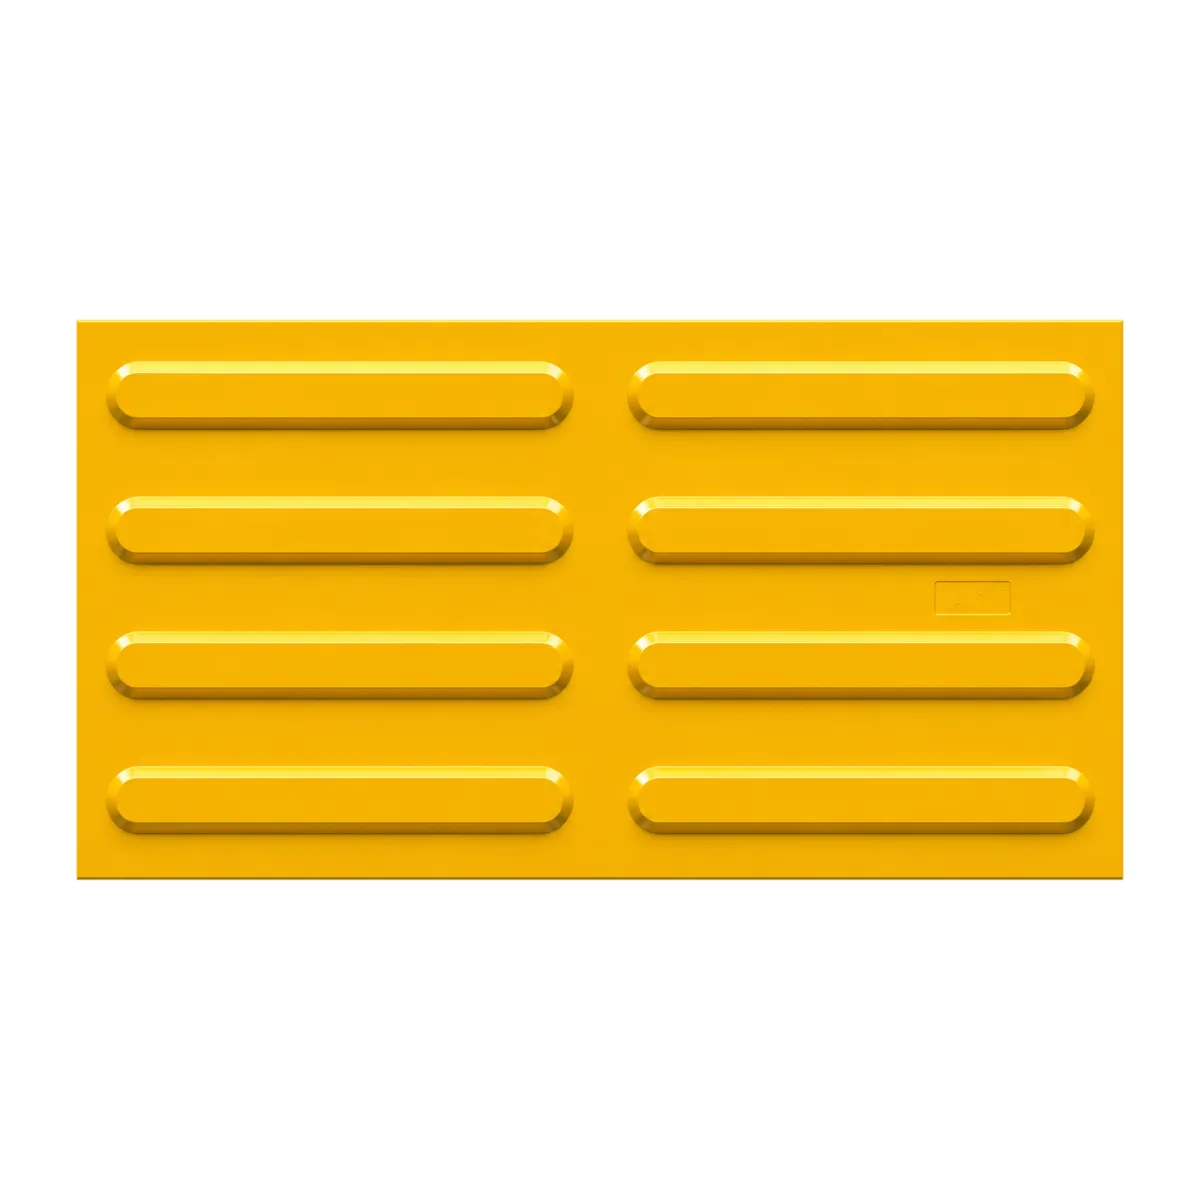
They are bonded on top of the floor that is already there, so you do not have to lift the paving or the tiles. We have them in three formats, 30 x 30, 40 x 40 and 30 x 60 cm, each with a guidance tile and a warning tile, in yellow RAL 1003 and in black RAL 9017. All of them are the same thickness, so the route and the stopping area meet at the same level, with no step between them.
Rubber tiles
These are also fitted by bonding them on top of the existing floor. Thickness, relief height, recommended adhesive and working temperature vary from one manufacturer to another, so read them in each product's data sheet before comparing them with a TPU tile. We do not sell rubber tiles.
Stainless steel studs and bars
Here there is no tile, only separate elements: usually each stud or each bar is fixed into a hole drilled in the floor. This system is chosen on natural stone, on granite, or where a discreet look is wanted. Fitting takes longer, because every element is measured and set one by one. Metal does not give the contrast of a yellow tile, which whoever designs for partially sighted people has to take into account.
Concrete tactile paving slabs
Concrete slabs with a relief are not bonded: they are laid into the structure of the pavement, like paving blocks, when the pavement is built or rebuilt. On a new pavement they are the natural choice. On existing paving they mean lifting the blocks along the marked strip and redoing the bed underneath.
In short, what to choose
- a pavement or platform being built now: concrete slabs, laid together with the paving;
- a pavement, platform or entrance that already exists: bonded tiles, in TPU or rubber;
- natural stone, or buildings where appearance matters: stainless steel studs;
- strong contrast for partially sighted people: a yellow tile on grey paving or asphalt, a black one on light-coloured stone.
Where they go outdoors, according to NP 051-2012
The Romanian accessibility normative NP 051-2012 says where tactile surfaces are needed and how deep the warning area is. Outdoors, four situations matter most:
- access ramps and stairs: a tactile-visual warning surface at least 60 cm deep across the full width (V.5.3, V.5.4);
- stairs: a warning area 60–90 cm deep, placed 30–50 cm from the edge of the first step (V.2.2.5);
- pedestrian crossings: guidance strips along the pedestrian route (IV.4.1); the normative sets no depth for the warning area, and our calculator starts from the same 60 cm;
- changes of level: marked in yellow (IV.7.2).
Besides these, warning tiles go before tram lines, along platform edges and at public transport stops, while guidance tiles lead the person along the pavement, from the gate to the building entrance. Where the route turns, the spot is usually marked with warning tiles as well.
A batch of 100 tiles: what it covers and how to split it
The first thing a number of pieces tells you is the area. One hundred tiles cover:
- 9 m² in the 30 x 30 cm format (ATZ 9003 guidance, ATZ 9004 warning);
- 16 m² in 40 x 40 cm (ATZ 9005 guidance, ATZ 9006 warning);
- 18 m² in 30 x 60 cm (ATE 8016 guidance, ATE 8014 STOP).
The second thing is the split. Guidance and warning tiles share the same format but cannot replace each other, so “100 pieces” has to be broken down by type before ordering. If the document does not say, ask the designer how many tiles of each type, which format and which colour. Three examples, worked out with the same rules as the calculator:
With 30 x 30 cm tiles
Two 3 m wide pedestrian crossings, with a 60 cm warning strip, that is two rows, on each pavement, take 80 warning tiles. The remaining 20 make a 6 m guidance route to one of the crossings; the list and price of this batch are in the calculator. The batch weighs 35 kg for guidance and 36 kg for warning.
With 40 x 40 cm tiles
Laid end to end, 100 guidance tiles make a 40 m route. As warning tiles, they cover three 3 m wide crossings with two rows of tiles on both pavements, which is 96 pieces. The batch weighs 66 kg for guidance and 55 kg for warning.
With 30 x 60 cm tiles
As guidance tiles, laid with the long side along the direction of travel, 100 tiles make a 60 m route, the length of a long platform. As STOP tiles, they cover five 3 m wide crossings with two rows on both pavements. The batch weighs 90 kg for guidance and 77 kg for STOP.
When the plan has several places, the tactile paving calculator adds them up: you add each crossing, staircase, ramp or route, choose the format and colour for each, and at the end you get the warning and guidance tiles separately, with the price. You can add a 5% or 10% reserve for cuts.
Ordering, delivery and quotes
A batch of 100 tiles weighs between 35 and 90 kg, depending on format and type. We deliver by courier within 24-48 hours. On the website you can order as a private person or as a company, pay by card, cash on delivery or bank transfer, and you get an invoice for every order. Public institutions find us in SEAP / SICAP as S.C. ATTO REGAL S.R.L.
For large batches, or for several formats at once, send the quote form on any product page: you get a personalised quote with transport included. Tell us how many guidance and how many warning tiles you need, the format and the colour. If you only have measurements, send the length of the routes, the width of the crossings and stairs and the colour of the paving, and we will draw up the list.
Fitting outdoors
The TPU tiles are bonded with epoxy adhesive, which is sold separately. Outdoors the steps are the same as in a hall, only the weather matters more:
- clean the area well and let it dry;
- mark the guidance route and the warning areas on the ground;
- lay the tiles out without adhesive, to see the joints and where the guidance route meets the warning area;
- check the orientation: the ribs of the guidance tiles along the direction of travel, and for the 30 x 60 cm format the long side along the direction of travel as well;
- bond the tiles one after another, with the ribs lined up from tile to tile, so the route stays continuous for anyone following it with a white cane.
How much adhesive you need, at what temperature you can work and how long before people can walk on the tiles is written on the pack of the epoxy adhesive you use.
Frequently asked questions
Which material is best outdoors?
The choice depends on the paving, not on a ranking. On a new pavement, concrete slabs are laid with the paving; on existing paving, TPU or rubber tiles are bonded on top; on natural stone, stainless steel studs are the usual choice.
Where do tactile tiles go outdoors?
Warning tiles go before pedestrian crossings and tram lines, along platform edges, at public transport stops and before access ramps and stairs. Guidance tiles run along the pavement, on the route to the building entrance.
How much do 100 tactile tiles cover?
9 m² in 30 x 30 cm, 16 m² in 40 x 40 cm and 18 m² in 30 x 60 cm.
How much does a batch of 100 tiles weigh?
35–36 kg in 30 x 30 cm, 55–66 kg in 40 x 40 cm and 77–90 kg in 30 x 60 cm, depending on the type.
Which colour should I choose for a pavement?
The one that contrasts with the paving: yellow RAL 1003 on grey paving or asphalt, black RAL 9017 on light-coloured stone. The relief feels the same in both colours.
Is the adhesive included?
No. The tiles are bonded with epoxy adhesive, which is sold separately.
Do you quote for 100 pieces?
Yes. Send the quote form on the product page and you get a quote with transport included.
How we can help
All 12 tiles, guidance and warning, in three formats and two colours, are in tactile paving: 30x30, 40x40 and 30x60. For a batch of 100 or for a whole project, send us the list or the measurements and we will reply with a quote, transport included.